 Volumetric Light Beam Component SD
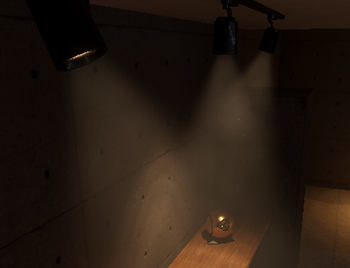
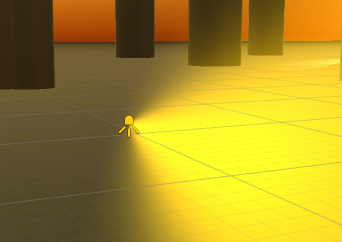
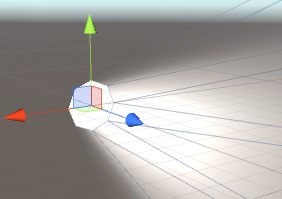
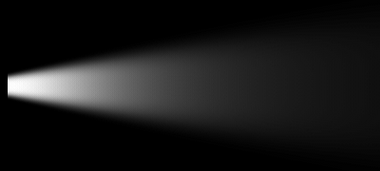
The VolumetricLightBeamSD component is the main component of the SD implementation of the plugin. It can be attached to any GameObject.
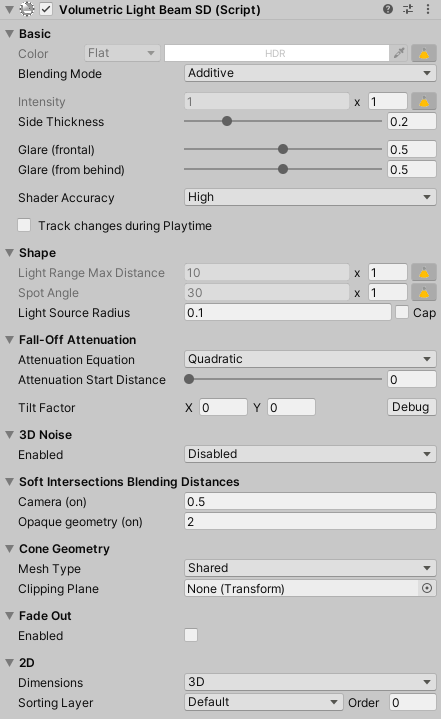
Basic
Color
Use the combobox to specify if you want to apply a Flat/Plain or a Gradient color.
Flat
Use the color picker to set a plain color (takes account of the alpha value).
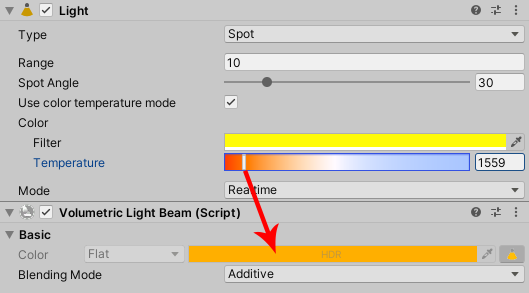
If attached to a Spotlight, toggle the  button next to this property to get the same value than the Color Light's property.
If the Spotlight uses Color Temperature Mode, enable the option in the plugin config so the beam's color takes account of both the filter and the temperature.
Tip about HDR
You can specify an HDR color value. If your camera allows HDR, it's possible that the light beams look more transparent. In this case, increase the Current Brightness in the HDR color picker to make them look more opaque.
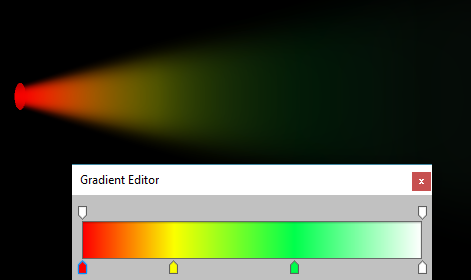
Gradient
Apply a gradient along the light beam. The color and alpha variations will be applied.
Gradient accuracy
When applying gradients with a lot of color changes, you might need to increase the mesh's Segments tesselation in order to have a better rendering accuracy, or you can also set the Shader Accuracy to High.
Blending Mode
Change how the light beam colors will be mixed with the scene. More info about Blending Mode here.
- Additive: highly recommended blending mode. Gives the best results when using bright colors.
- Soft Additive: softer additive (bright colors will appear dimmed).
- Traditional Transparency: use this only if you want to have beams with dark/black colors.
 |
 |
 |
|---|---|---|
| Additive | Soft Additive | Traditional Transparency |
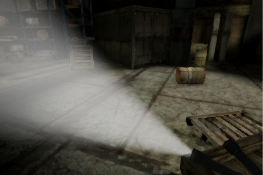
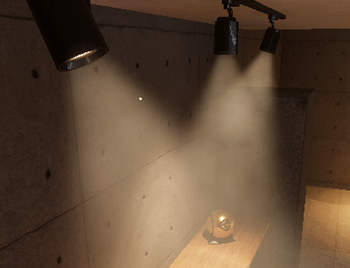
Intensity
Global beam intensity.
If you want to control values for inside and outside independently, use the advanced mode.
If attached to a Spotlight, toggle the button next to this property to get the same value than the Intensity Light's property.
A new Multiplier property will be available to modulate the spotlight intensity.

Advanced
When enabled, controls the inside and outside intensity values independently.
The advanced intensity mode is only available if the intensity value is NOT bound to the attached Unity Spotlight. In this case, you have to unclick the button next the intensity.
Now you can toggle the advanced intensity mode by clicking the Adv button to see the 2 inside and outside sliders.
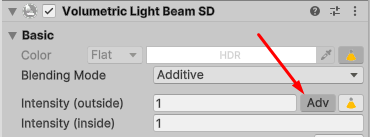
Intensity (outside)
Advanced Mode only: controls the Beam outside intensity (when looking at the beam from behind).
Intensity (inside)
Advanced Mode only: controls the Beam inside intensity (when looking at the beam from the inside directly at the source).
Exposure Weight (HDRP only)
Use this slider to set how much effect the exposure has on the beam intensity.
 |
 |
 |
|---|---|---|
| Scene exposure: regular | Scene exposure: high Exposure weight: 0.0 (Beams' intensity hasn't changed) |
Scene exposure: high Exposure weight: 1.0 (Beams' intensity is dimmed down) |
The Exposure Weight property is only available when using HDRP since the exposure is only handled in this Render Pipeline.
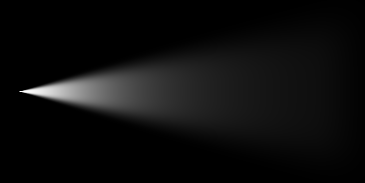
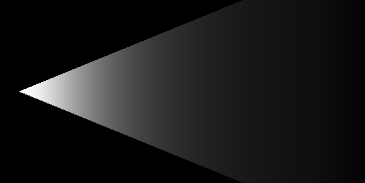
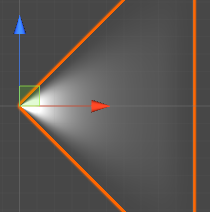
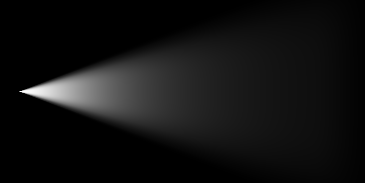
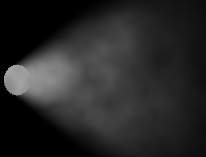
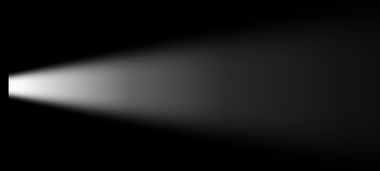
Side Thickness
Thickness of the beam when looking at it from the side.
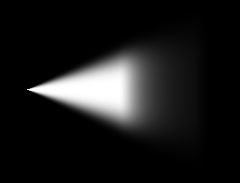
- 1.0 = the beam is fully visible with hard edges.
- Lower values produce softer transition at beam edges.
 |
 |
 |
|---|---|---|
| 0.0 | 0.75 | 1.0 |
Tip
If you set the lowest possible value and want to make the beam even thinner, just lower the Spot Angle and/or the Light Source Radius properties.
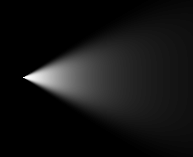
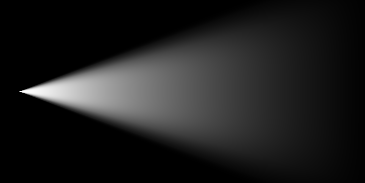
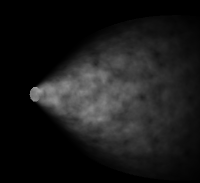
Glare (frontal)
Boost intensity factor when looking at the beam from the inside directly at the source.
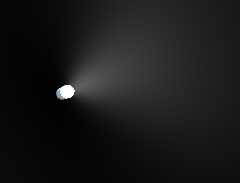 |
 |
|---|---|
| 0.0 | 1.0 |
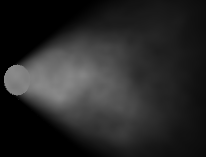
Glare (from behind)
Boost intensity factor when looking at the beam from behind.
 |
 |
|---|---|
| 0.0 | 1.0 |
Shader Accuracy
- Fast: a lot of computation are done on the vertex shader to maximize performance.
- High: most of the computation are done on the pixel shader to maximize graphical quality at some performance cost.
We recommend to keep the default Fast Shader Accuracy to ensure best performance, except when using the Gradient Color or the Tilt Factor features.
Track Changes During Playtime
If true, the light beam will keep track of the changes of its own properties and the spotlight attached to it (if any) during playtime. This would allow you to modify the light beam in realtime from Script, Animator and/or Timeline.
 |
|---|
With trackChangesDuringPlaytime = true |
Enabling this feature is at very minor performance cost. So keep it disabled if you don't plan to modify this light beam during playtime.
Limitation
Once enabled, you can change at runtime every properties of the VolumetricLightBeam component expect Cap Geom and Sides: they would require to regenerate the beam mesh, which would be too performance intensive.
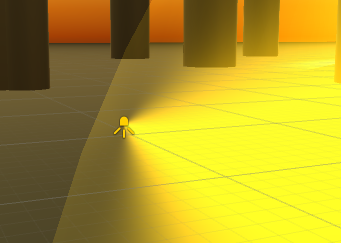
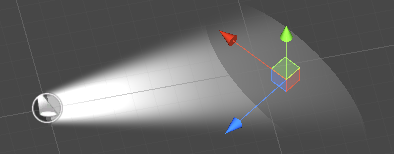
Shape
Light Range Max Distance
Distance from the light source (in units) the beam is entirely faded out.
If attached to a Spotlight, toggle the button next to this property to get the same value than the Light Range Max Distance Light's property.
A new Multiplier property will be available to modulate the range distance.

You can control this value from script using the fallOffEnd property.
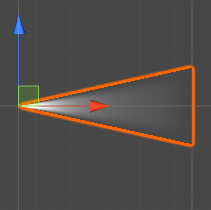
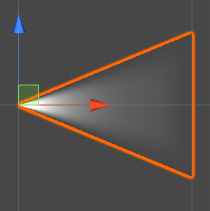
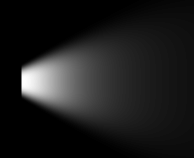
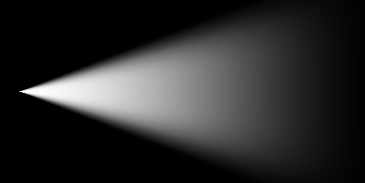
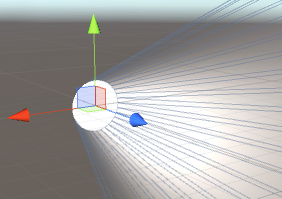
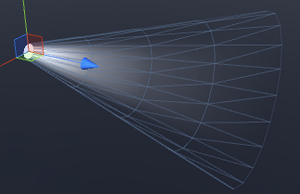
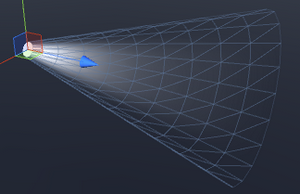
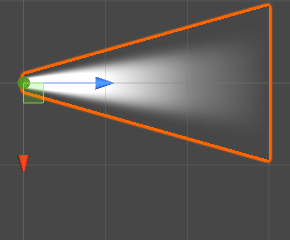
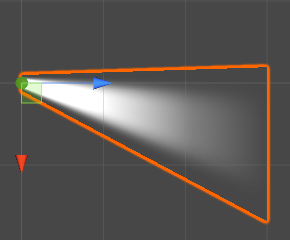
Spot Angle
Define the angle (in degrees) at the base of the beam's cone.
 |
 |
 |
|---|---|---|
| 25 degrees | 45 degrees | 90 degrees |
If attached to a Spotlight, toggle the button next to this property to get the same value than the Spot Angle Light's property.
A new Multiplier property will be available to modulate the angle.

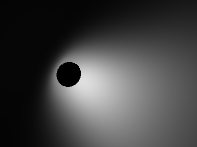
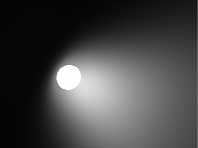
Light Source Radius
Radius (in units) at the beam's source (the top of the cone).
- 0.0 will generate perfect cone geometry (with a sharp apex).
- Higher values will generate truncated cones.
 |
 |
|---|---|
| 0.0 | 0.25 |
Increasing the Light Source Radius property will not increase the Spot Angle. This means that the cone's maximum radius is not dependent on the Light Source Radius property.
Cap Geom
Show the cap of the cone or not (only visible from the inside).
 |
 |
|---|---|
| Off | On |
Even if the Light Source Radius is 0.0, the Cap Geom property is still important to consider, since the Light Source Radius can be changed in realtime.
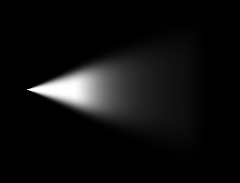
Fall-Off Attenuation
Attenuation Equation
Attenuation equation used to compute fading between Attenuation Start Distance and Light Range Max Distance.
- Linear: Simple linear attenuation.
- Quadratic: Quadratic attenuation. Since this is the way light behaves in real life, this usually gives more realistic results than the linear attenuation.
- Blend: Custom blending mix between linear and quadratic attenuation (can be customize using a slider).
 |
 |
 |
|---|---|---|
| Linear | Blend (factor 0.5) | Quadratic |
Attenuation Start Distance
Distance from the light source (in units) the beam intensity will start to fall off.
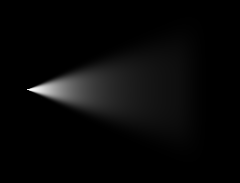 |
 |
 |
|---|---|---|
| 0% | 25% | 50% |
You can control this value from script using the fallOffStart property.
Tilt Factor
Tilt the color and attenuation gradient compared to the global beam's direction.
 |
 |
|---|---|
| Tilt Off | Tilt Y = 0.75 (with High Shader Accuracy) |
This feature should be used with High Shader Accuracy mode.
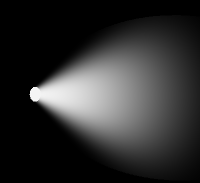
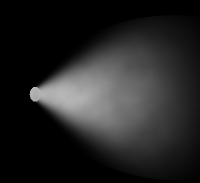
3D Noise
3D Noise is a feature to simulate animated volumetric fog / mist / smoke effects. It makes the volumetric lights look less "perfect" and so much more realistic.
To achieve that, a tiled 3D noise texture is internally loaded and used by the beam shader.
 |
 |
|---|---|
| 3D Noise OFF | 3D Noise ON |
Platform specific
3D Noise feature requires shader capabilities equal or higher than Shader Model 3.5 / OpenGL ES 3.0. Any mobile devices released after 2012 should support it.
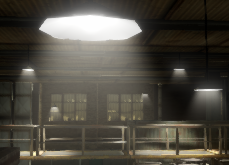
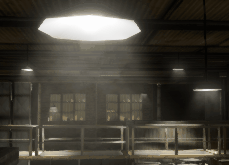
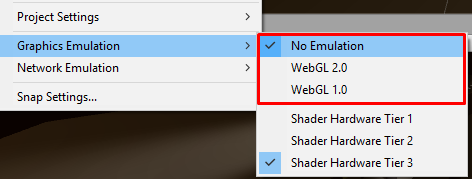
If you want to test the 3D Noise compatibility from the Unity's editor, or if the effect is not visible in the scene view, please change the editor's graphics emulation for a more capable one via 'Edit/Graphics Emulation' menu and press Play to force the light beams to be recomputed.
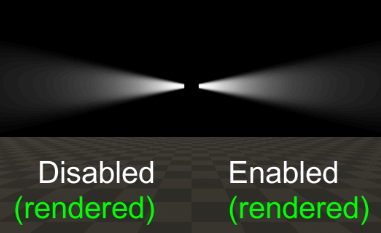
Enabled
Enable or disable the 3D Noise effect and select the mode. The mode you select will change how the noise will look when the beam is moved in realtime.
- Disabled: 3D Noise effect is disabled.
- Enabled World Space: when moving your beam, the noise will look "grounded" in the world.
- Enabled Local Space: when moving your beam, the noise will look "tied" to the beam.
Intensity
Higher intensity means the noise contribution is stronger and more visible.
 |
 |
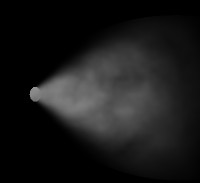 |
|---|---|---|
| 0.0 (disabled) | 0.5 | 1.0 |
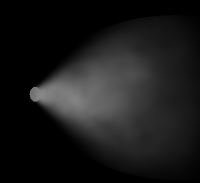
Scale
3D Noise texture scaling. Higher scale makes the noise more visible, but potentially less realistic because the texture tiling could become more apparent.
 |
 |
 |
|---|---|---|
| 0.4 | 0.8 | 1.4 |
If the toggle Use Global is checked, it will use the global Scale property set in configuration file.
Velocity
Vector3 property defining the direction (the direction of the vector) and speed (the magnitude of the vector) of the noise scrolling, simulating the fog/smoke movement.
 |
 |
|---|---|
| (0.05 ; 0.2 ; 0.05) | (0.05 ; 0.05 ; -0.3) |
If the toggle Use Global is checked, it will use the global Velocity property set in the configuration file.
Soft Intersections Blending Distances
Camera
Because the volumetric beams are rendered using cone geometry, it is possible for the camera to intersect with the geometry, which could produce unwanted artifacts. This property is designed to fix this issue. It specifies the distance between the beam geometry and the camera's near clip plane where the beam will start to fade, making a smoother transition.
- 0.0: hard intersection with the camera's near clip plane.
- Higher values produce soft intersection when the camera is near the cone geometry.
 |
 |
|---|---|
| 0.0 | 0.25 |
This distance is NOT scaled according to the beam's GameObject scale. You'll have to set a consistent distance value when scaling your beams, specially with very tiny or very large scaling factors.
Opaque Geometry
Distance from the world geometry the beam will fade with.
- 0.0 (feature disabled): hard intersection but faster (doesn't require to update the depth texture).
- Higher values produce soft intersection when the beam intersects world's geometry, but require to update the camera's depth texture.
 |
 |
|---|---|
| 0.0 (feature disabled) | 1.0 (feature enabled) |
This distance is NOT scaled according to the beam's GameObject scale. You'll have to set a consistent distance value when scaling your beams, specially with very tiny or very large scaling factors.
This feature requires access to the Depth Buffer. More info here.
Depth banding artifacts
The quality of this feature is highly depended on the depth buffer precision. On platforms with low precision Z buffer such as mobile, you could experience visual glitches when enabling this feature. In this case, have a look at our Troubleshooting page.
Limitation
This feature is currently not supported and will be automatically disabled when rendering through:
- oblique near-plane projection matrix (might be used by reflection cameras).
Cone Geometry
Mesh Type
- Shared: Use the global shared mesh (recommended setting, since it will save a lot of memory). Will use the geometry properties set on configuration file.
- Custom: Use a custom mesh instead. Will use the geometry properties set on the beam.
Custom Sides
(This property is only available when Mesh Type is Custom)
Number of Sides of the cone (tessellation). Higher values make the beam looks more "round".
The higher the value, the more memory and performance is required.
A recommended value for a decent quality while keeping the poly count low is 18.
 |
 |
|---|---|
| 8 sides | 32 sides |
Custom Segments
(This property is only available when Mesh Type is Custom)
Number of Segments of the cone. Higher values give better looking results but more memory and performance would be required.
We recommend at least 3 segments, specially regarding Attenuation and Gradient, otherwise the approximation could become inaccurate.
The longer the beam, the more segments we recommend to set in order to keep good quality along the distance.
A recommended value for a decent quality while keeping the poly count low is 4.
 |
 |
|---|---|
| 3 segments | 8 segments |
Having a high segment count could help smoothing the attenuation gradient over the distance and prevent possible color banding.
 |
 |
|---|---|
| low segments count (some color banding) | high segments count (smooth gradient) |
Skewing Factor
(This property is only available when Mesh Type is Custom)
Distort the beam's shape horizontally (X axis) and vertically (Y axis) while keeping its circular slice and gradient unchanged.
 |
 |
|---|---|
| Skewing disabled | Skewing factor X = 0.25 |
Clipping Plane
Additional clipping plane transform. Will cut the beam according to this GameObject's position and rotation.
Fade Out
This feature is designed to fade out beams according to the distance to the camera. The further the beam will be located from the camera, the dimmer it will appear. When fully faded out, the beam is culled off and not rendered anymore to save on performance.
This computation is done at runtime only (not working in the Editor scene view) according to one camera only. This camera is retrieved using the tag specified in the Configuration.
Enabled
Enable the Fade Out feature.
Begin Distance
Fade out starting distance.
Beyond this distance, the beam intensity will start to be dimmed.
End Distance
Fade out ending distance.
Beyond this distance, the beam will be culled off to save on performance.
2D
The following properties are used to tweak and combine the order when beams are rendered with 2D objects (such as 2D sprites).
Dimensions
- 3D: the beam is generated along the Z axis.
- 2D: the beam is generated along the X axis, so you won't have to rotate it to see it in 2D.
We recommend to set this property at 2D when displaying a beam in a 2D scene:
- You won't have to apply an extra rotation transformation to make the beam visible
- The TriggerZone will generate a 2D Polygon Collider then
Sorting Layer
The layer used to define this beam's overlay priority during rendering with 2D Sprites.
This works the same way than the Sorting Layer property of the Sprite Renderer class.
Order in Layer
The overlay priority within its layer. Lower numbers are rendered first and subsequent numbers overlay those below.
This works the same way than the Order in Layer property of the Sprite Renderer class.